Imagine this: It's a crisp January morning. Snow dusts your yard or field, leaves are gone, and your permaculture dreams feel far off. But here's the magic—permaculture observation in winter reveals your site's true secrets, without summer's leafy chaos hiding them.
You're a beginner homesteader or suburban gardener, sketching plans for food forests or veggie zones. Without solid winter site analysis, you risk placing water-hungry plants in dry spots or wind-exposed fruit trees where they'll struggle. This journal practice solves that. It turns quiet months into powerhouse planning, aligning with permaculture ethics like observe and interact. By noting patterns now, you'll build resilient designs that honor your land's native rhythms. Ready to journal your way to a thriving permaculture system?
What Is Winter Permaculture Observation and Why Bother?
Winter permaculture observation means systematically watching your site when plants sleep and structures shine. No buzzing bees or towering weeds distract you. You spot soil types, water flows, sun angles, and wind tunnels clearly.
Why prioritize this? Permaculture thrives on site-specific designs. Summer visits fool you—lush growth masks poor drainage or shade issues. Winter site analysis uncovers bones of the land: topography for swales, exposures for zones. For beginners, it's low-effort, high-reward. Spend 15 minutes daily journaling, and your design mapping leaps forward.
This ties to core principles: catch and store energy (sun data for solar-efficient layouts) and use edges and value diversity (microclimates for native species). Small farmers and gardeners love it—no digging required. Your design becomes a living blueprint, preventing costly redo's. Plus, it's fun spotting wildlife tracks in snow, hinting at ecosystem allies.
Check our guides on [permaculture zones basics] or [native plant guilds] for deeper dives.
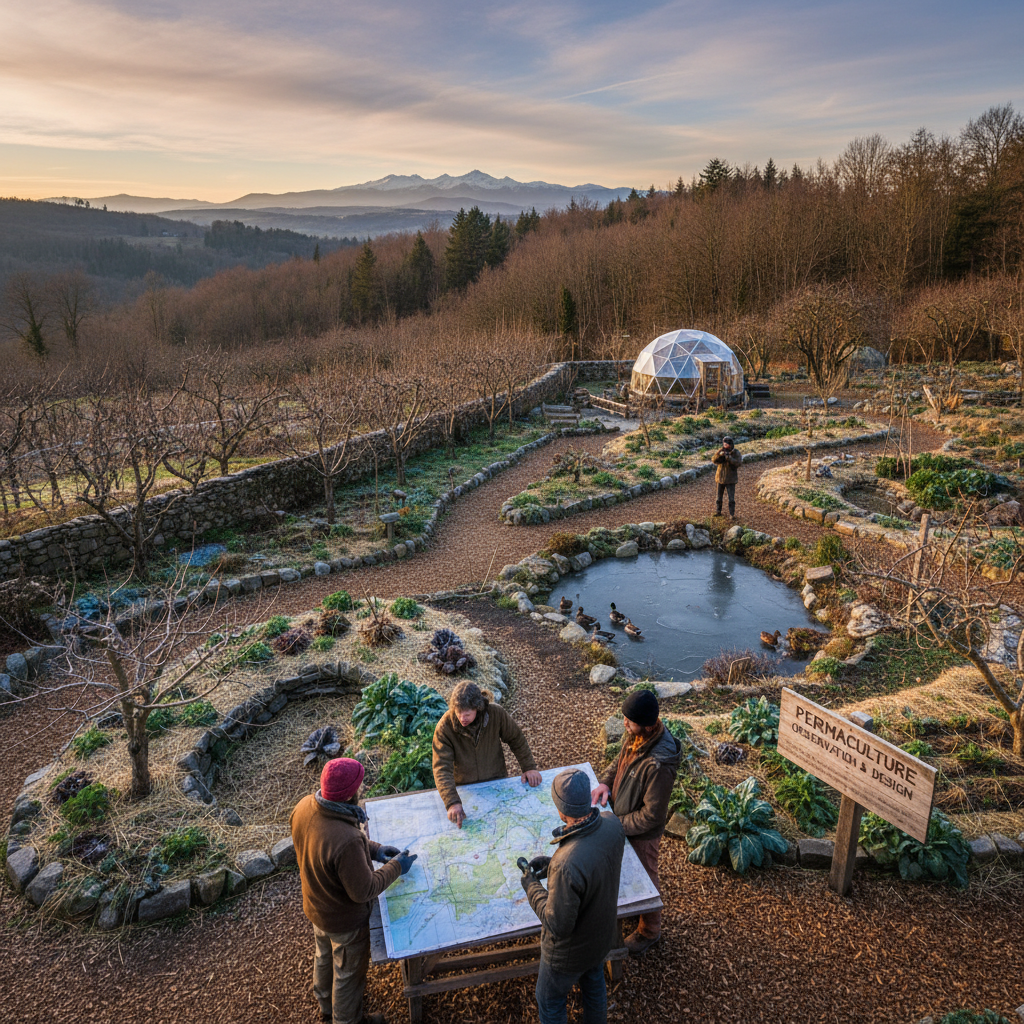
Setting Up Your Winter Observation Journal
Start simple—you don't need fancy gear. Grab a waterproof notebook, pencil (ink freezes!), phone camera, and compass app. Dedicate a page per observation date, noting weather, time, and feelings about the site.
Step 1: Baseline Sketch. Walk your property, drawing a rough map. Mark house, fences, trees—bare now, so silhouettes pop. Divide into zones: Zone 1 near home for herbs, Zone 2 for orchards.
Step 2: Daily Check-Ins. Focus one feature per day: Monday sun shadows, Tuesday puddles. Use sketches, photos, notes like "North slope stays snow-free—sunny microclimate?"
Step 3: Track Changes. Revisit spots weekly. Note frost patterns or melting sequences. Relate to natives: Does snow linger where Juniperus communis (common juniper) might thrive?
For small lots, observe from windows too. Homesteaders, layer boots for muddy paths. This builds relative location awareness, key for design mapping. Celebrate tiny wins—like spotting a windbreak opportunity.
Mapping Sun Paths and Shadows for Zone Design
Sun rules permaculture. Winter's low angle maximizes shadows, perfect for analysis. Your journal captures solstice paths, informing Zone 1 (daily access) sunny herbs vs. Zone 5 wild edges.
Observe Morning to Evening. At dawn, noon, dusk, mark shadows from buildings/trees on ground with flags or chalk. Sketch: "House shadow hits potential veggie bed till 10 AM—too shady for tomatoes."
Calculate Annual Paths. Use free apps or charts. Note winter solstice (short days) vs. equinox. South-facing slopes get max light—prime for fruit like native Amelanchier alnifolia (saskatoon serviceberry).
Zone It Up. When placing elements on your map, layer sun data. Zone 1: Full sun for kitchens. Zone 2: Dappled for berries. Avoid north exposures for heat-lovers.
Tie to principles: obtain a yield via efficient energy capture. Beginners, test with thermometers—warm spots scream "orchard here!" Natives shine: Quercus rubra (northern red oak) tolerates partial shade.
Pro tip: Snow melt patterns echo sun—faster melt means warmer soil. Journal it all.
Analyzing Water Flow and Soil in Winter
Water dictates life. Bare ground shows flows hidden by grass. Winter site analysis spots flood risks, dry zones, erosion—crucial for swales and ponds.
Hunt Puddles and Streams. After rain/snowmelt, trace paths. Note: "Low spot by fence holds water 2 days—rain garden candidate with natives like Asclepias incarnata (swamp milkweed)."
Soil Clues Exposed. Dig shallow test pits (refill ethics!). Check texture: Clay holds water (blueberries?), sand drains fast (lavender?). Roots from deciduous trees reveal depths.
Contour Mapping. Use a line level or A-frame to find levels. Sketch contours for on-contour paths. Prevents erosion, stacks functions.
For urban gardeners, note roof runoff. Small farmers, identify seeps for frog ponds. Principles: produce no waste by mimicking natural hydrology. Natives: Carex pensylvanica (Pennsylvania sedge) for erosion control.
Journal photos pre/post-freeze—ice lenses show wet soils. This data goldmines your map.
Spotting Wind Patterns and Microclimates
Wind shapes microclimates. Winter's stripped site screams directions—gusts howl down alleys, calm pockets hug walls.
Flag Test. Tie ribbons to stakes; watch directions/speeds. Note: "Prevailing west wind funnels through gap—plant windbreak of Aronia melanocarpa (black chokeberry)."
Frost Pockets. Valleys trap cold air—late frost risks. Elevated spots frost-free first. Journal hoar frost or inversions.
Warm Microclimates. South walls radiate heat. Perfect for figs or extending seasons. Zone accordingly: Protected Zone 1 extensions.
Permaculture win: integrate rather than segregate. Use natives like Symphoricarpos albus (snowberry) for hedges. Suburbanites, observe neighbor effects.
Combine with sun data for full picture. Your map layers will pop.
Noting Existing Features, Wildlife, and Native Potential
Every site has assets. Winter reveals stumps, rock outcrops, burrows—free elements!
Infrastructure Audit. Sketch paths, utilities, viewsheds. Old stumps? Hugelkultur bases.
Wildlife Signs. Tracks, scat, nests show biodiversity. Deer trails = natural corridors.
Native Species Inventory. ID dormant standouts: Bark, buds clue Acer saccharum (sugar maple). Potential anchors for guilds.
For zones: Existing paths define Zone 1. Rocks for thermal mass in Zone 2.
Ethics: use and value diversity. Beginners, apps like iNaturalist help ID. Celebrate surprises—a vole tunnel hints fertile soil.
Applying Your Journal to Design
Your journal sketches become the foundation for your design.
Layer Observations. Add sun polygons, water arrows, wind roses to your map. Toggle for scenarios: "What if Zone 2 orchard here?"
Consider Native Plants. Search for natives suited to your observed conditions—e.g., shade-tolerant Ostrya virginiana (American hophornbeam). Place them on your map, noting potential overlaps and synergies.
Plan Your Zones. Input your observation data to inform layouts respecting ethics. Visualize how water might flow across your landscape.
Collaborate. Share your journal notes and map ideas with others for feedback. Export your design for reference.
Beginners: Start small—focus on one area. Iterate weekly. This turns raw notes into thoughtful designs, saving implementation headaches.
Key Takeaways
- Winter permaculture observation strips distractions, revealing sun, water, wind, soil truths for killer site analysis.
- Journal daily: Sketches, photos, notes build data for accurate design mapping.
- Prioritize zones—sunny Zone 1, sheltered Zone 2—using natives like Amelanchier spp.
- Spot microclimates, flows; layer into your design process for informed decisions.
- Embrace principles: Observe first, design smart, celebrate site's gifts.
- No experience needed—15 mins/day yields resilient plans.
Next Steps
- Grab notebook; observe 15 mins today—sun shadows first.
- Start sketching your site based on your observations.
- Join a permaculture forum—share your journal, get tips.
Your permaculture journey blooms from winter roots. Start now!
Curated by
Daniel Crawford
Regenerative Systems Designer